
How to (Try To) Use the Outlook Recall Feature
/
Outlook Recall to the Rescue!
It eventually happens to the best of us. We send out an Email, only to realize just after you hit “Send” that it contains incorrect information or perhaps something that on second thought you now regret putting in the Email. Outlook Recall to the Rescue!
You may have hit “Reply All” when you didn’t intend to, and now want to remove those Emails from all the extra people’s Inboxes. Perhaps you forgot to include an attachment, and want to retract the message, and send a replacement message that has the necessary attachment. Or maybe you sent out something when you were upset that you know realize isn’t appropriate and contains some wordings you now regret.
This issue can be even more significant (and potentially embarrassing) if you send the message out to a large number of people, or even to a large distribution list.
Luckily, if you work in an office that uses Microsoft Outlook (which is by far the most widely used corporate Email system), you have the ability to “Recall” an Email message.
The Outlook Recall Feature
The Outlook “Recall” feature allows you to either delete the Email entirely from the recipients inboxes, or resend it with a corrected version that contains updated information.
Important Limitations on the Outlook Recall Feature:
Outlook Recall will only work if you and the recipients are:
Both on Office 365 and within the same organization.
Both using Microsoft Exchange and are within the same organization.
Using the “Client” version of Outlook (not the “Web Access” version).
Also note that certain Outlook Administrators may decide to disable this feature, so it is possible that it may not be an option within your organization.
Using the Outlook Recall Feature in Microsoft Office:
(Note: The steps below are for most versions of MS Office. There are some minor differences between the various MS Outlook versions, but the key steps are the same. Check the “Help” for your specific version of Outlook if you need assistance).
To Recall a Message in Outlook:
Navigate to your “Sent Items” folder.

Locate the message you wish to Recall. If you JUST SENT IT, then it should be at the very top of your “Sent Messages” list.

“Open the Message” (Double-click to fully open it).
On the “Messages Tab”, go to the Actions Group, and select “Actions”. You can usually find it right next to the “Move” button and under the “Rules “options.
Select “Recall This Message”.

Select the radio button “Delete Unread Copies of this Message” (normally the “default” option).

NOTE: By default, the radio button for “Tell me if Recall Succeeds or Fails for Each Recipient” will be selected. This will cause you to receive an individual message as to whether the Recall succeeds or fails, on a recipient-by-recipient basis. You may wish to consider clearing this option if you are recalling from a large number of people so your Inbox isn’t overloaded with these messages!
To Recall and Resend a Replacement Message:
Follow all the same steps as listed above, except choose the radio button “Delete Unread Copies and Replace with a New Message”.

A copy of your original message will be automatically displayed in a “Compose” screen.
Update the message with the corrected information.
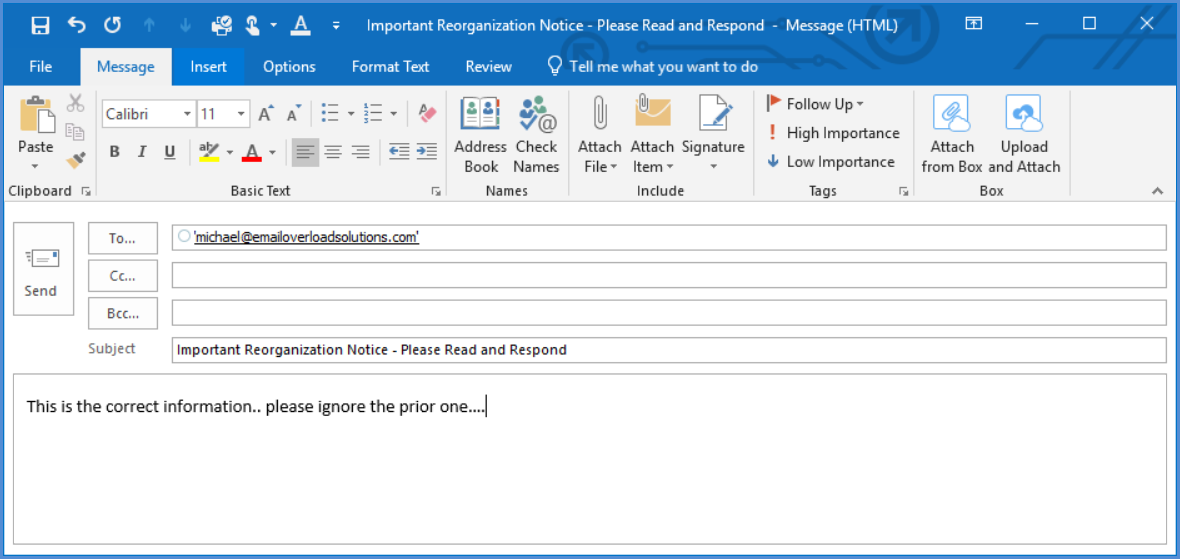
“Send” the message after you have completed all your corrections.
Recall Success and Failure Tracking:
If your Recall is successful, and you selected to be notified for each Recipient, you will receive a message for each successful or failed Recall:
Successful Recall Message:
A successful recall message says “Recall Success” in front of the Message Subject.

Failed Recall Message:
An unsuccessful recall message says “Recall Failure” in front of the Message Subject.

Using the “Tracking” feature to monitor Recall Success and Failure:
If you did not want to be notified of every recall and failure, you can still use the “Tracking” feature in Microsoft Outlook to track the “success” or “failure” of your recalls to every recipient.
Navigate to your “Sent Message” folder and select the message you requested be Recalled.
Select the “Tracking” button.
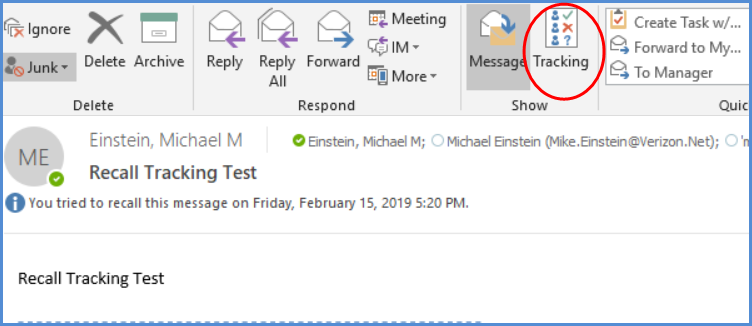
You will be shown a screen that shows if the Recall was a “Successful” or “Failed” for each recipient.

Why Outlook Recalls Succeed or Fail:
The Success or Failure of a Message Recall is not guaranteed, and actually depends upon the message recipient’s specific settings in Outlook. There are (unfortunately) a number of possible situations depending upon different settings in Outlook that can occur.
Microsoft Support has a detailed table which explains the various scenarios and system settings which impact when Outlook Recall will succeed and when it will fail. Instead of trying to recreate their whole table, just use the button below and it will take you right to the Microsoft Support Site article. The table is towards the bottom of the article:
(Table Courtesy of Microsoft Outlook Support).
There are also a number of other factors that may impact if the Recall feature will work or not, which I will detail in an upcoming Post.
What if you Do not See the “Recall” Feature:
If you do not see the “Recall This Message” command, then you may not be using a version of Outlook or Exchange that has the ability to Recall message. It isn’t available in the “web” versions of Outlook, only the actual “client” versions. And it is also possible that your Outlook Administrator may have disabled this feature.
Unfortunately, if you do not have a “Recall” command, then there is no way at this point to “Recall” the message.
A few other Outlook Recall Tips
The faster you send out the Recall, the better chance that it will succeed. Once someone opens your original message, they will have seen it and read it, regardless of if your Recall then works. So, if you send something in error, do the Recall as quickly as possible!
A key suggestion is to use an Outlook Delay Send Rule, which I have discussed as well. This gives you a configurable “delay” between the time you hit “Send” and when the message is actually sent. This gives you a bit of time to “grab” the message from your “Outbox”and stop it from being “Sent” by just Opening it or dragging it to your “Drafts” folder. In fact, this is the way “Recall” actually works in Gmail (which is not even a “Recall” feature, but actually just a “Delay Send” feature).
If you do send out something that can’t be recalled, or if your recall fails, then send out a follow-up Email that provides corrected information.
If you sent out something that contains inappropriate information, then it is time to send out some sincere apologies. If you sent out something that could be viewed as a personal attack, then I highly suggest you pick-up the phone or better yet, apologize face-to-face. Admit your mistake, apologize, learn, and move-on. It happens to everyone at some point.